However, there are times when the app may say that the Philips Hue lights are unreachable. What causes this issue, and what can you do about it? In this article, you’ll learn the most common causes of this problem and how you can fix it and get your Philips Hue light bulbs connected to your overall smart home again.
1. Is Your Mobile Device On the Same Wi-Fi Network?
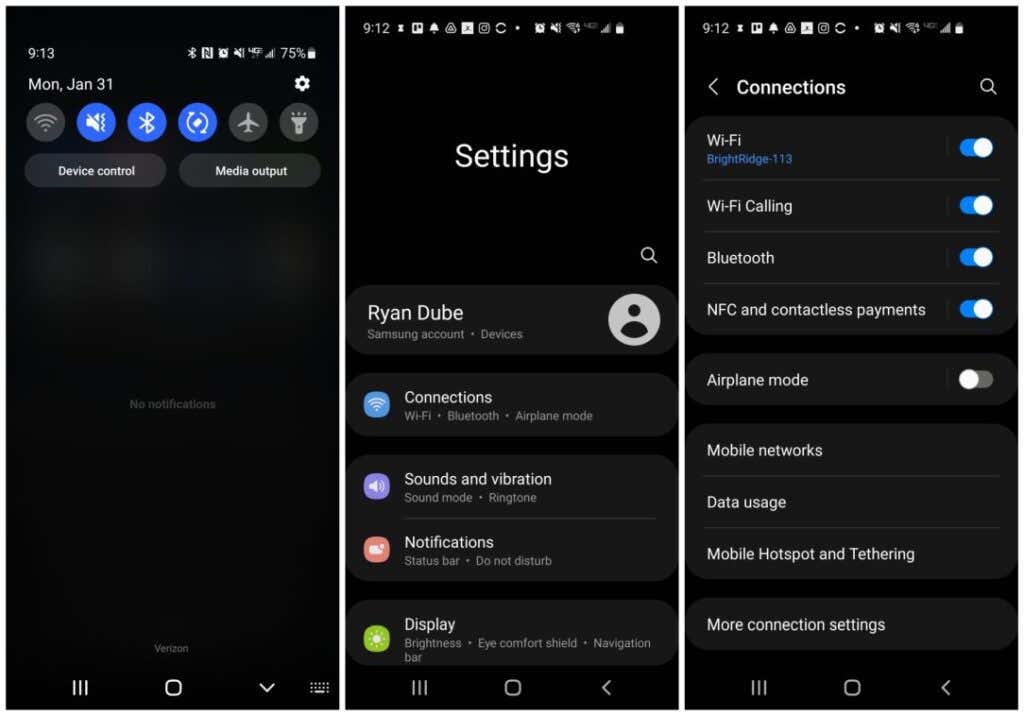
The most common issue when your Philips Hue lights are unreachable by the Philips Hue app is that your mobile device isn’t on the same network as the Philips Hue hub. You can check this on your mobile device in a few ways. The first thing to check is that you actually have Wi-Fi enabled on your mobile device. On Android, you can quickly check this by swiping down on the home screen and checking that the Wi-Fi icon is enabled. On iPhone, just check the status bar at the top of the screen for the Wi-Fi icon. If it is enabled, but Philips Hue lights are still unreachable, you’ll have to dig a little deeper. On Android, open your device Settings menu, select Connections, and look at the network name under Wi-Fi near the selector. On iPhone, choose Settings > Wi-Fi from your home screen. You should see a blue tick next to the name of the network you’re connected to. If this network name doesn’t match the network connected to your Philips Hue bridge when you first set it up, you’ll need to change your mobile device network to that one before you can control the Philips Hue lights.
2. Make Sure the Philips Hue Lights are Powered On
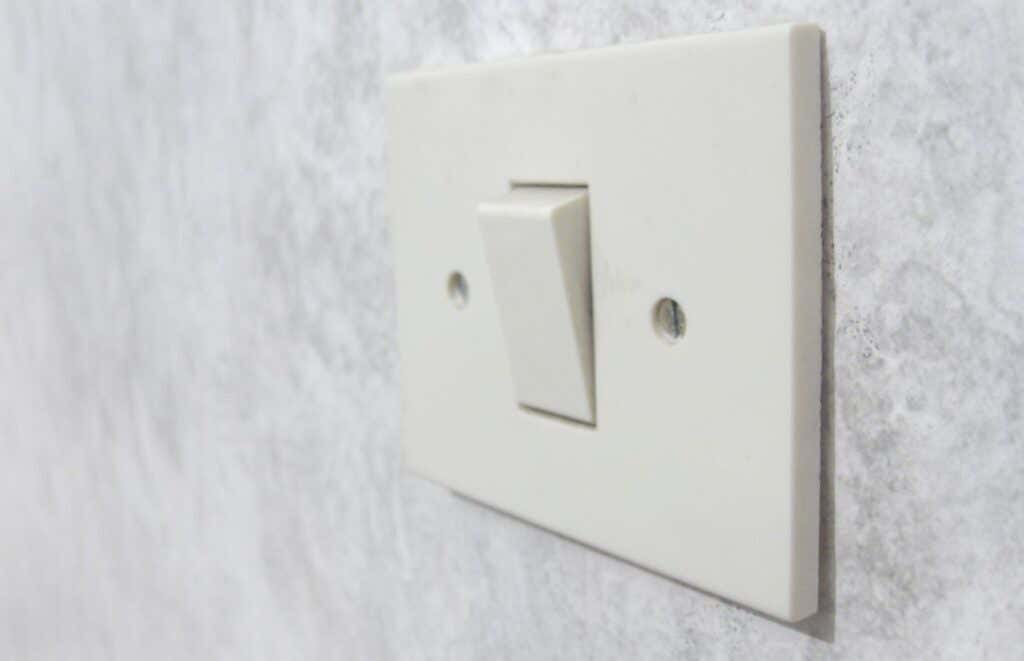
This may seem like common sense, but you might be surprised how often forgetting a light switch is off leads to Philips Hue lights becoming unreachable by the app. Ensure the switches that control the correct Philips Hue bulbs are turned on. And if you’re using a dimmer switch to control the lights, make sure the switch is on, otherwise the lights may not work. Or you can purchase the Hue dimmer switch accessory if you want that feature.
3. Double-Check Philips Hue Bridge Connections
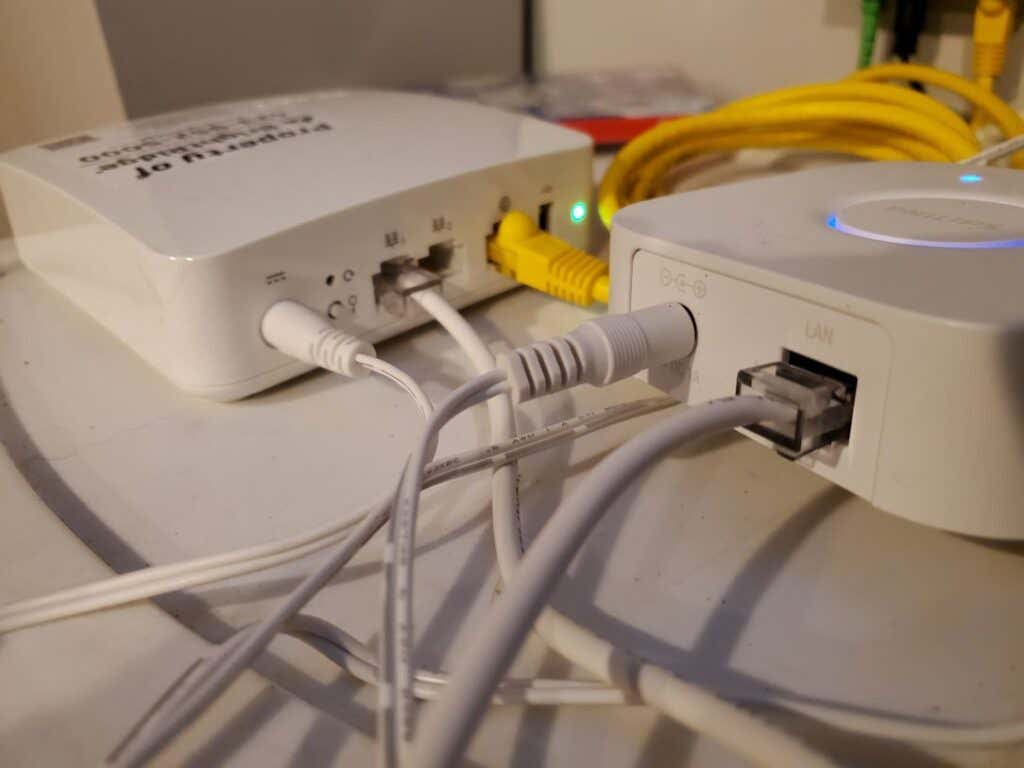
If you know that your mobile device is connected to the same network as your Philips Hue bridge, then the bridge itself is the next thing to check. First, trace each of the cables from the back of your Philips Hue bridge and make sure they’re correctly connected.
The power cord should go to a nearby outlet, and you should be using the original factory power adapter supplied by Philips.The ethernet cable from the ethernet port should go into one of the numbered LAN ports on the back of your router. Make sure it isn’t accidentally plugged into the incoming internet port (usually labeled with a globe icon).
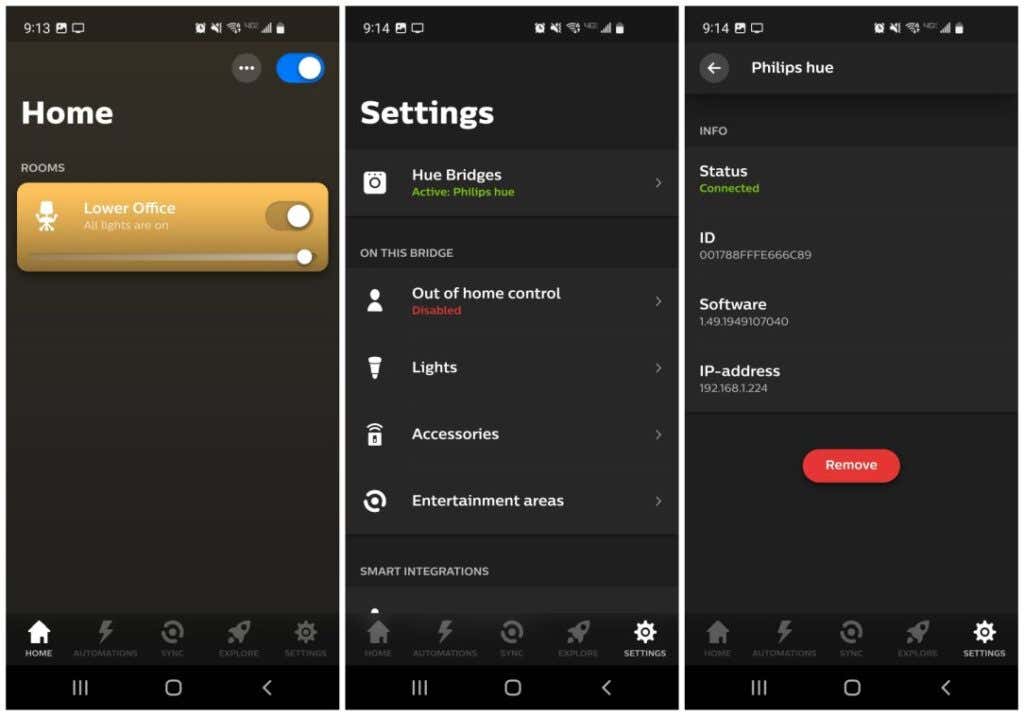
If you’ve confirmed everything is wired up correctly, the next thing to check is that the Philips Hue bridge is correctly connected to the network by checking the connection status in the Philips Hue app. Launch the app and select Settings at the lower right corner. This will open the Settings window, where you’ll see all installed bridges listed under Hue Bridges. The status here should be green and Active. Select Hue Bridges and you’ll see the network connection information listed on the next window. This includes the connection status and its network IP address. If you don’t see a green Connected status or no IP address listed, your Philips Hue bridge could be having a network connection issue. Try the following troubleshooting tips if that’s the case.
Unplug the power from the Philips Hue bridge, wait a few seconds, and then plug it back in.Swap out the ethernet cable connecting the bridge to the router since this cable could be faulty.Reset the bridge by turning it over and using a pointed tool to press and hold the reset button for 5 seconds. This button is next to the label restore factory settings.
If you do have to reset the bridge, you’ll need to go through the setup process again that you walked through when you first installed it.
4. Are the Philips Hue Lights Added to the Correct Room?
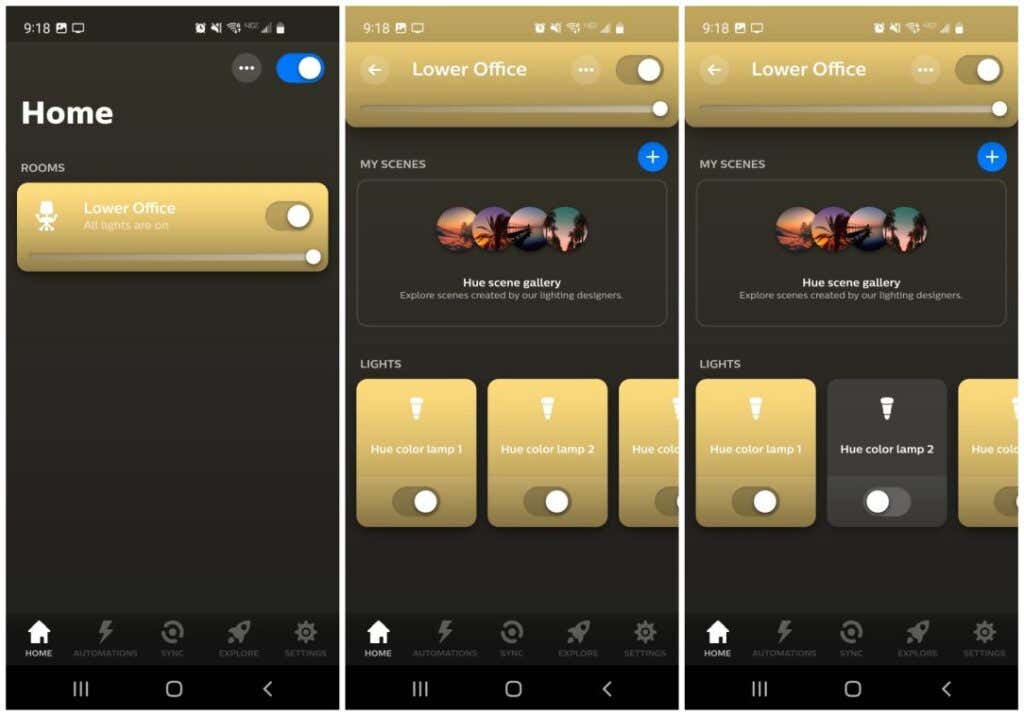
If you’ve set up multiple rooms in your Philips Hue app or enabling the switch for a room isn’t turning on the lights, there could be an issue with how you’ve added lights to each room in the app. To check this, from the main app screen tap the room that you want to check. You should see every Philips Hue listed that you’ve installed and want to control in that room. If you don’t see one of those lights there, you’ll need to add it (usually, this involves moving it from a different room you may have accidentally assigned it to. To do this, just tap the three dots at the top right corner of the screen in the Room window, and select Edit Room. The last thing to check is that even if all of your lights are listed in the correct room, one of them could be disabled or turned off individually. You’ll see this if the switch is to the left and the light icon displays as a dark icon.
5. Reboot Your Wi-Fi Router
One thing that most commonly fixes connection issues, both on internal networks and the internet connection itself, is restarting your Wi-Fi router. To do this, just follow the steps below. Once you’ve restarted your router, try connecting to the Philips Hue lights again.
6. Make Sure Your Router Isn’t Blocking the Hue Bridge
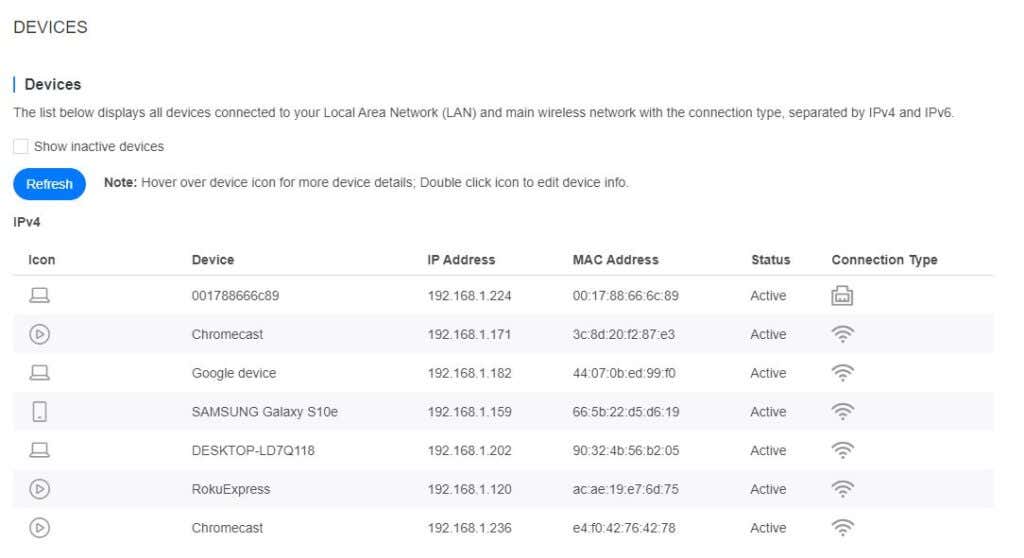
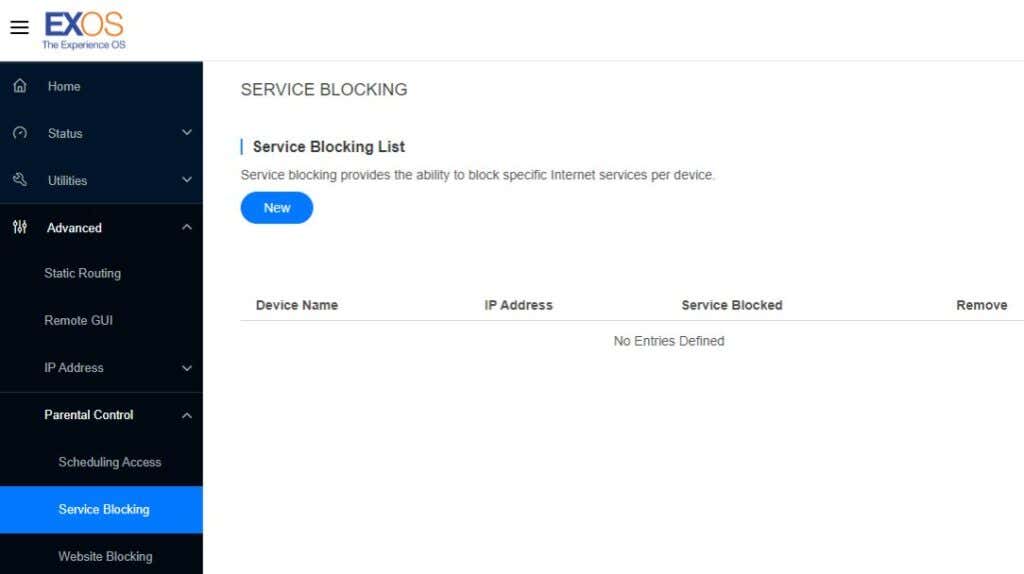
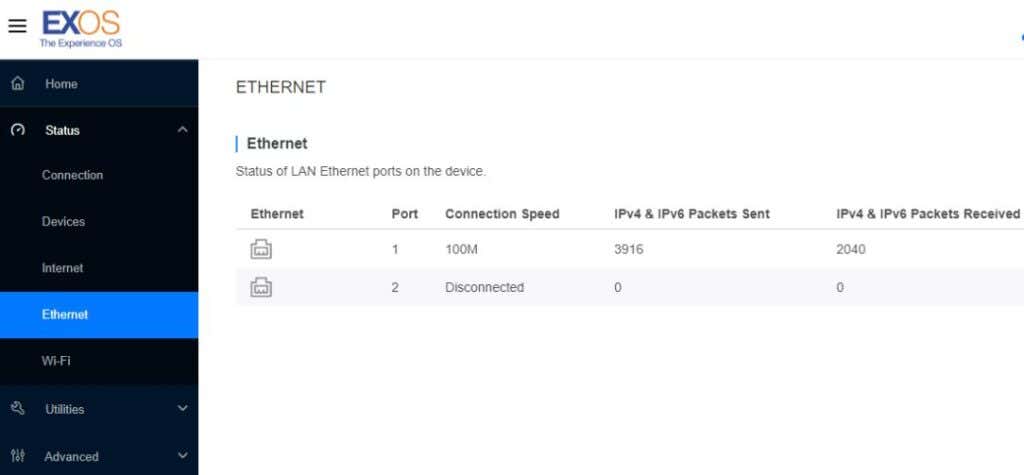
While it’s unlikely, there could be a setting in your router that changed and is blocking the Philips Hue bridge connection to the network. Devices typically aren’t blocked by default, so someone would have had to set this up to cause a problem. But it’s a good idea to confirm that the bridge is at least connected to the router without any problems. To do this, connect to your default gateway IP (this is usually 129.168.1.1 or 10.0.0.1, but you can check this by typing the ipconfig command into the Command Prompt). Log into your router as an administrator, and under the network connections menu (this varies from router to router), find the Devices option. You should see all connected devices and their connection type. Since it’s likely that the Philips Hue bridge is one of the few devices connected via ethernet, you should see it listed with that connection type. The last four digits of the Device name will match the serial number on the back of your Philips Hue bridge. Ensure this device isn’t blocked by checking Service Blocking or Device Blocking under Parental Controls (again, this may vary between routers). Usually, this list will be blank. If you do see the Philips Hue bridge listed here, just remove it from the list. It also can’t hurt to check that the router’s ethernet port properly detects a connected device. Check the Ethernet menu option in the router and look for anything other than Disconnected for the port number the Hue bridge is connected to. «4-ethernet-port.jpg» If the status is Disconnected, try switching your Philips Hue bridge to a different router ethernet port to see if that fixes this issue with your Philips Hue lights being unreachable. If you had to fix any of these settings, it’s likely your Philips Hue lights will reconnect.
7. Test a Replacement Philips Hue Bulb
Whether all of your bulbs aren’t connected, or it’s just a single bulb with a problem, it can’t hurt to purchase a single Philips Hue smart light to test if installing it fixes the problem. If all of your lights aren’t working and a new light fixes one of them, maybe you’ll need to replace all bulbs as well. Hopefully the troubleshooting tips above have helped you get reconnected with your smart lights!
