Tracking your packages is not only important for knowing when to be home and collect your items, but it can also help you track down items that don’t deliver as expected. If you’re a serial internet shopper like I am, you may sometimes even forget that you’ve made a particular purchase. If it never delivers, that’s not good—especially if it never crosses your mind. While there are many simple ways to keep track of a single tracking number, multiple package tracking can be difficult. There are a few apps on iOS and Android that make this easier, but who wants to sit around on their phone all day checking for shipping updates? In this article, let’s go over the best way to handle multiple package tracking numbers at once by desktop or through the web.
Packagetrackr
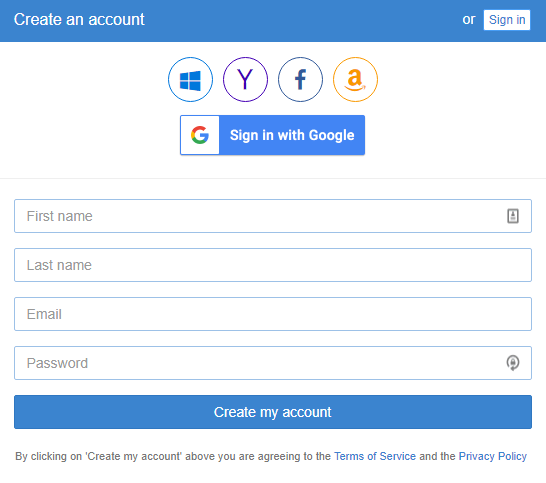
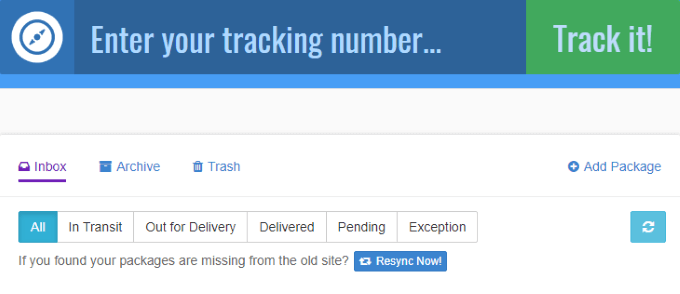
Packagetrackr is our pick for the best web-based tool for saving and following multiple package tracking numbers. This is a tool that I personally used over the recent Black Friday and Christmas shopping season, and it saved me an immeasurable amount of time and headaches. The first thing you’ll want to do is sign up for a Packagetrackr account. It’s completely free and even supports signing up by linking your Google account. Signing up will allow you to store all of your saved package tracking numbers safely and securely so that you can come back to them to check their statuses at a later date. After creating an account, you’ll be taken to your inbox. Here is where you’ll see a list of all your recently tracked packages. As you’ve just signed up for a new account, this page should be empty. However, let’s check out how this page looks once we add a tracking number.
Tracking a Package
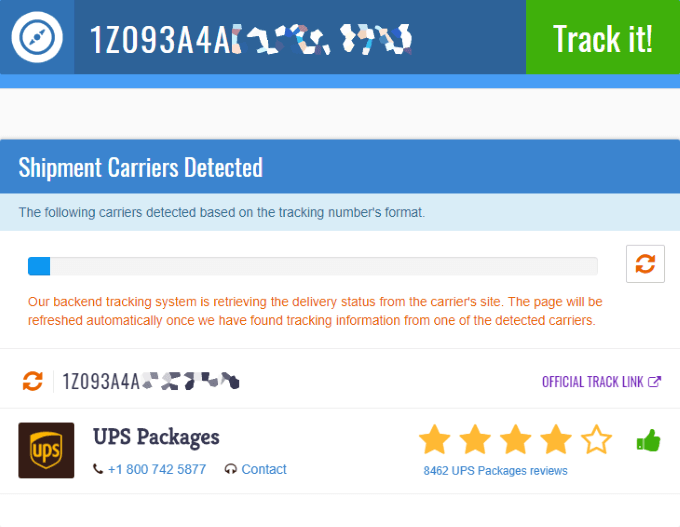
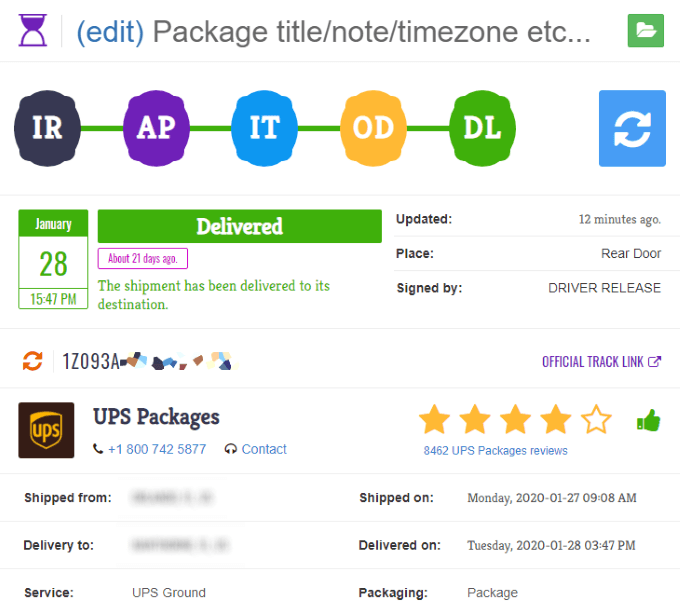
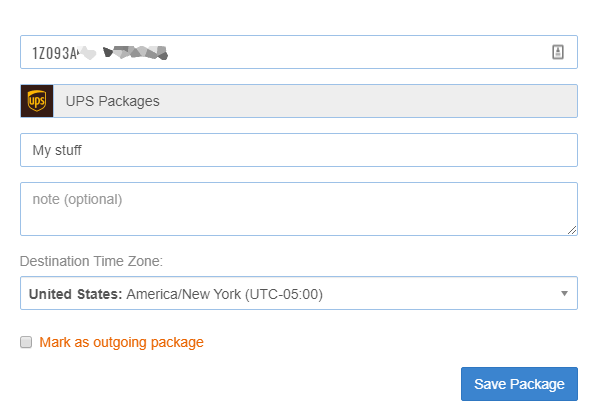
If you have a package tracking number on hand, copy and paste it into the large field at the top of this page and click the Track it! button. Packagetrackr supports USPS, UPS, FedEx, DHL, China Post, China EMS, and Canada Post tracking numbers, so be sure the tracking number you use is being handled by one of these services. When adding your first package tracking number, you don’t even have to select which shipping service corresponds to it. Packagetrackr will automatically detect this or narrow it down to multiple options for you to choose from. As you can see above, it’s determined that the tracking number I entered belongs to UPS. Next, simply click on the package tracking number above the shipping service that your package is being handled by. This will take you to a page that shows its shipping status and allows you to configure how it will be tracked by Packagetrackr. In the example above, you can see that I’ve added a package that has already been delivered some weeks ago. However, if you’re trying to track a package currently shipping, its status will show accordingly. The five different statuses tracked by Packagetrackr are Information Received, At Pickup, In Transit, Out for Delivery, and Delivered. Each status change can optionally send you an update via email, so you’ll know immediately when forward movement is occurring in the shipping process. Further down this page, you can even find a tracking map and a full delivery progress log. To track your package, you’ll need to give it a name. You can do so by clicking the (edit) button towards the top of the current page. On the screen that pops up, you can set a title, note, destination timezone, and even optionally mark your package as outgoing. Once satisfied, click the Save Package button.
Viewing Your Tracked Packages
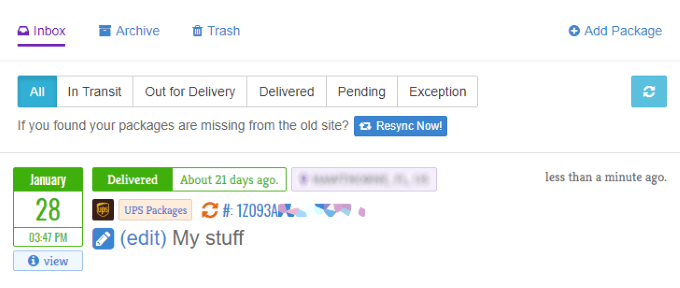
After successfully adding your first package, head back to your inbox and you’ll see that it’s now listed and being tracked. You can track dozens of packages on this page in the same way that I’m tracking the one shown above. Then, all you have to do is click the 🔄 button to get the latest tracking information for all of your packages. This can optionally occur automatically at a timed interval, too. When you’re done tracking a package, you can either send it to your Archive for keeping or your Trash for removal. You can view your packages together as a full list or you can use the In Transit, Out for Delivery, Delivered, Pending, or Exception buttons across the top of this table to filter them accordingly.
Tweaking Your Settings
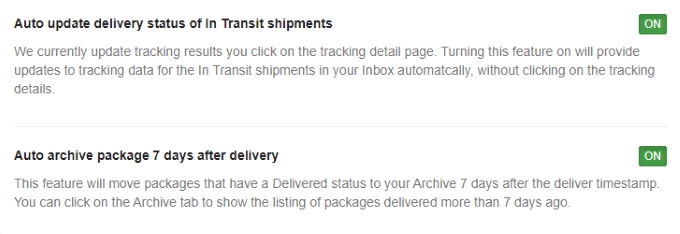
One final but important piece of advice to note when using Packagetrackr is that you should check out your Preferences and Notifications settings. While both of these pages are configured to give you the most number of email updates by default, you may want to lessen them to your liking. On these pages, you can turn off email notifications altogether, disable automated shipment status updates, or disable automatic archiving. Considering all of the mobile apps that allow you to track your packages, it’s great that there’s a web-based solution that is totally cross-platform. Packagetrackr works on any device, is completely free, and lets you track dozens of active shipments through a simple and intuitive UI. What more could you want? Have questions on how you can use Packagetrackr, or would you like to share an alternative for multiple package tracking that you’re a fan of? Drop us a message in the comments below!

